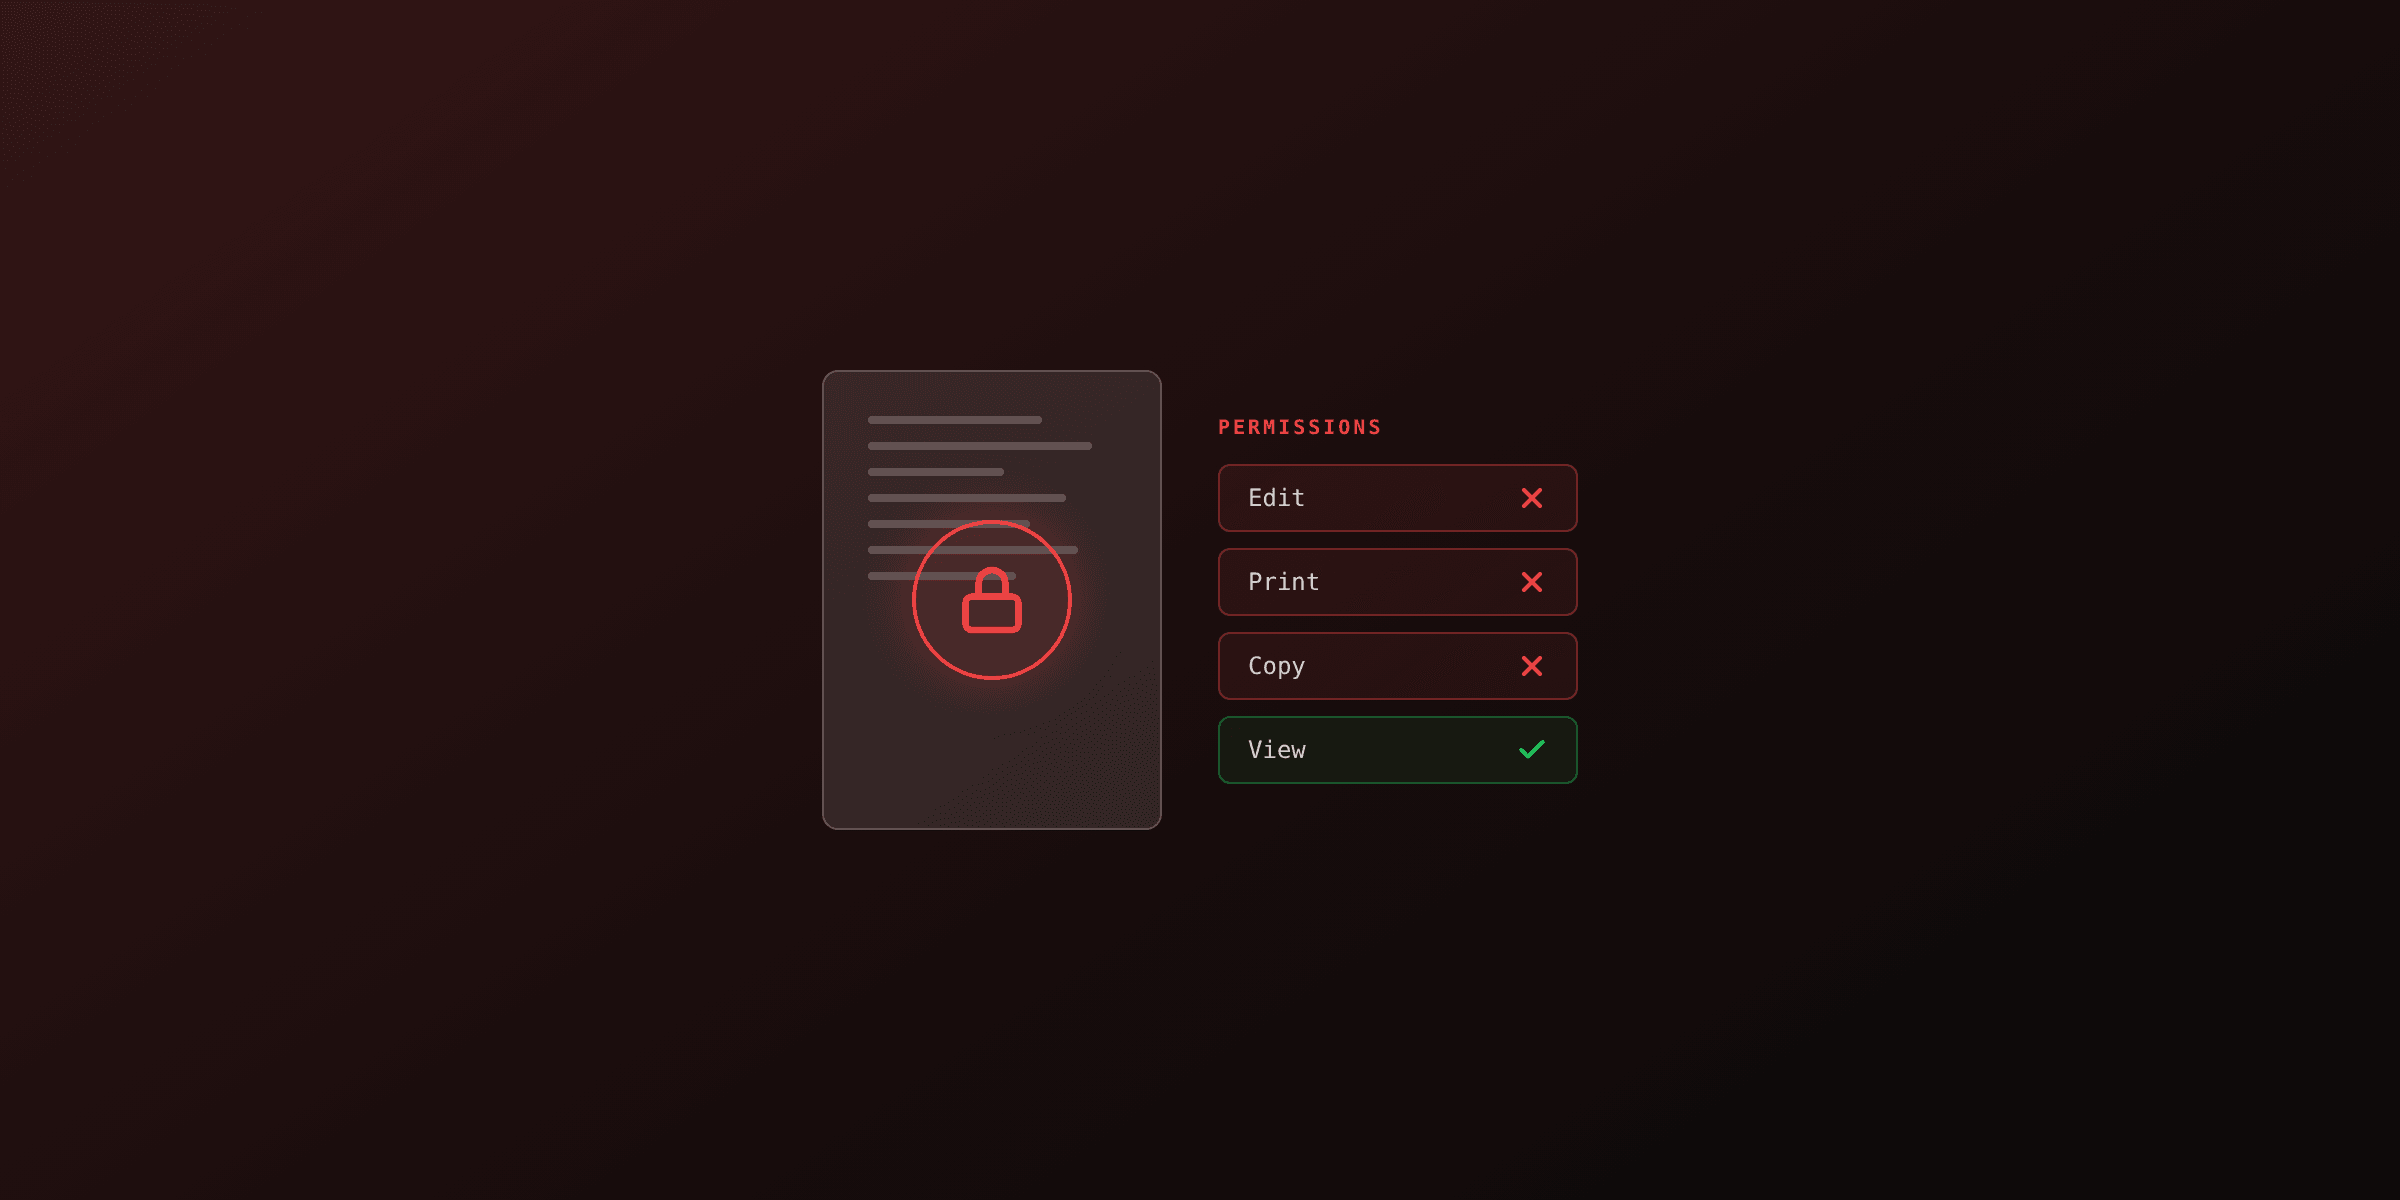
A digital signature on a PDF means one of two different things, and conflating them is the most common mistake. A visible signature is an image or a typed name drawn on the page: it looks official but proves nothing. A cryptographic digital signature embeds a PKCS#7 structure built from a certificate and private key, which makes the document tamper-evident and verifiable. If you want legal weight and integrity, you need the cryptographic kind. In Node.js use @signpdf/signpdf with a .p12 certificate; in Python use pyHanko. Both produce real PKCS#7 signatures. A visible overlay alone (pdf-lib drawImage) is decoration.
This article shows both, names the exact packages, and keeps an honest scope: rendering a PDF and signing a PDF are two separate steps.
Visible signature vs cryptographic signature: which do you need?
A visible signature changes pixels; a cryptographic signature changes trust. The table below maps the two approaches to libraries, what they need, and what they actually guarantee. Pick based on whether you need proof of integrity or just the appearance of a signature.
| Aspect | Visible signature (overlay) | Cryptographic signature (PKCS#7) |
|---|---|---|
| What it is | Image or text drawn on the page | PKCS#7/CMS blob in a signature dictionary |
| Tamper-evident | No | Yes, any byte change breaks it |
| Proves identity | No | Yes, via X.509 certificate |
| Certificate needed | No | Yes (.p12 / .pfx) |
| Node.js library | pdf-lib (drawImage) | @signpdf/signpdf + @signpdf/signer-p12 |
| Python library | pypdf / ReportLab overlay | pyHanko |
| Legal value (eIDAS, ESIGN) | None on its own | Yes, with a trusted/qualified CA |
| Verifiable in Acrobat | Not as a signature | Yes, shows signer + validity |
A visible signature image with no cryptographic signature is not a signature in any legal or technical sense. Anyone can edit the page, move the image, or change the numbers above it, and nothing detects the change. Use it only for cosmetic mockups, never for contracts or compliance.
The two are not mutually exclusive. A real digital signature can also be visible: pyHanko and @signpdf let you place a visible appearance (name, date, reason) that is backed by the cryptographic signature. The point is that the visible part is optional decoration on top of the cryptography, never a replacement for it.
How do you add a visible signature image with pdf-lib?
To place a visible signature image, load the PDF with pdf-lib, embed a PNG or JPEG, and draw it at a chosen position. This is a page overlay: it adds pixels and nothing else. There is no certificate, no integrity check, and no signature field in the cryptographic sense. Use it for a "signed by" stamp where legal proof is not required.
import { PDFDocument } from "pdf-lib"
import { readFile, writeFile } from "node:fs/promises"

async function addVisibleSignature() {
  const pdfBytes = await readFile("contract.pdf")
  const pdfDoc = await PDFDocument.load(pdfBytes)

  const pngBytes = await readFile("signature.png")
  const pngImage = await pdfDoc.embedPng(pngBytes)

  // Place it on the last page, bottom-left.
  const pages = pdfDoc.getPages()
  const lastPage = pages[pages.length - 1]
  const { width } = lastPage.getSize()

  const scaled = pngImage.scaleToFit(160, 60)
  lastPage.drawImage(pngImage, {
    x: 72,
    y: 80,
    width: scaled.width,
    height: scaled.height,
  })

  const out = await pdfDoc.save()
  await writeFile("contract-visible.pdf", out)
}

addVisibleSignature()
The result looks signed. It is not. The next sections cover the cryptographic version that actually holds up.
How do you cryptographically sign a PDF in Node.js?
In Node.js, use @signpdf/signpdf together with @signpdf/signer-p12 and a .p12 (PKCS#12) certificate. The flow is two stages: first add an empty signature placeholder to the PDF, then compute the PKCS#7 signature over the file bytes and inject it. @signpdf/signpdf is the maintained successor to node-signpdf and ships as scoped packages.
Install the packages:
npm install @signpdf/signpdf @signpdf/signer-p12 @signpdf/placeholder-plainYou need a certificate. For testing, generate a self-signed .p12 with OpenSSL:
openssl req -x509 -newkey rsa:2048 -keyout key.pem -out cert.pem -days 365 -nodes \
  -subj "/CN=Test Signer"
openssl pkcs12 -export -out certificate.p12 -inkey key.pem -in cert.pem \
  -passout pass:yourpassword
Then add a placeholder and sign:
import { readFile, writeFile } from "node:fs/promises"
import signpdf from "@signpdf/signpdf"
import { P12Signer } from "@signpdf/signer-p12"
import { pdflibAddPlaceholder } from "@signpdf/placeholder-pdf-lib"
import { PDFDocument } from "pdf-lib"

async function signPdf() {
  const pdfBytes = await readFile("contract.pdf")

  // 1. Add an empty signature placeholder (reserves space for the PKCS#7 blob).
  const pdfDoc = await PDFDocument.load(pdfBytes)
  pdflibAddPlaceholder({
    pdfDoc,
    reason: "I approve this document",
    contactInfo: "[email protected]",
    name: "Test Signer",
    location: "Paris, FR",
  })
  const withPlaceholder = Buffer.from(await pdfDoc.save())

  // 2. Compute the cryptographic signature with the .p12 certificate.
  const p12 = await readFile("certificate.p12")
  const signer = new P12Signer(p12, { passphrase: "yourpassword" })

  const signed = await signpdf.sign(withPlaceholder, signer)
  await writeFile("contract-signed.pdf", signed)
}

signPdf()
The placeholder step matters. PDF signing works by reserving a byte range in the file for the signature, hashing everything outside that range, then writing the PKCS#7 result into the reserved space. That is why you cannot sign a PDF in one pass without first adding a placeholder.
Open contract-signed.pdf in Adobe Acrobat or another viewer and it shows a signature panel. With a self-signed certificate it reads "validity unknown" because the CA is not trusted, but the integrity check is real: edit one byte and the viewer flags the signature as broken.
How do you cryptographically sign a PDF in Python?
In Python, pyHanko is the most complete option for cryptographic PDF signing. It produces PKCS#7 signatures, supports visible signature appearances, timestamps from an RFC 3161 TSA, and PAdES baseline profiles for eIDAS. It reads certificates from a .p12/.pfx file or from a PKCS#11 hardware token.
Install it:
pip install pyHankoSign with a .p12 certificate:
from pyhanko.sign import signers
from pyhanko.sign.fields import SigFieldSpec, append_signature_field
from pyhanko.pdf_utils.incremental_writer import IncrementalPdfFileWriter

def sign_pdf(src="contract.pdf", out="contract-signed.pdf"):
    signer = signers.SimpleSigner.load_pkcs12(
        pfx_file="certificate.p12",
        passphrase=b"yourpassword",
    )

    with open(src, "rb") as inf:
        w = IncrementalPdfFileWriter(inf)

        # Reserve a visible signature field on page 1.
        append_signature_field(
            w,
            SigFieldSpec(sig_field_name="Signature1", box=(72, 80, 232, 140)),
        )

        meta = signers.PdfSignatureMetadata(field_name="Signature1")
        with open(out, "wb") as outf:
            signers.sign_pdf(w, meta, signer=signer, output=outf)

sign_pdf()
The PAdES subfilter plus a timestamp is the combination you want for eIDAS-aligned signatures. The pyHanko documentation covers long-term validation (LTV), PKCS#11 tokens, and the full set of PAdES baseline profiles.
How does PDF4.dev fit into a signing pipeline?
PDF4.dev renders HTML to a PDF document; cryptographic signing is a separate post-step you run on the rendered bytes. The two stages compose cleanly: render the contract from an HTML template with Handlebars data, get the PDF back, then sign it with @signpdf/signpdf or pyHanko before you store or send it. PDF4.dev does not embed PKCS#7 signatures itself, and saying otherwise would be inaccurate.
Render a document, returning a URL to the generated PDF:
curl -X POST https://pdf4.dev/api/v1/render \
  -H "Authorization: Bearer p4_live_xxx" \
  -H "Content-Type: application/json" \
  -d '{
    "template_id": "contract",
    "data": { "client_name": "Acme Corp", "amount": "12,000" },
    "delivery": "url"
  }'
Then sign the bytes you fetched, in the same pipeline:
import signpdf from "@signpdf/signpdf"
import { P12Signer } from "@signpdf/signer-p12"
import { pdflibAddPlaceholder } from "@signpdf/placeholder-pdf-lib"
import { PDFDocument } from "pdf-lib"
import { readFile } from "node:fs/promises"

async function renderThenSign() {
  // 1. Render with PDF4.dev.
  const res = await fetch("https://pdf4.dev/api/v1/render", {
    method: "POST",
    headers: {
      Authorization: `Bearer ${process.env.PDF4_KEY}`,
      "Content-Type": "application/json",
    },
    body: JSON.stringify({
      template_id: "contract",
      data: { client_name: "Acme Corp", amount: "12,000" },
      delivery: "url",
    }),
  })
  const { url } = await res.json()
  const pdfBytes = Buffer.from(await (await fetch(url)).arrayBuffer())

  // 2. Sign the rendered bytes (PKCS#7).
  const pdfDoc = await PDFDocument.load(pdfBytes)
  pdflibAddPlaceholder({ pdfDoc, reason: "Approved", name: "PDF4 Signer" })
  const withPlaceholder = Buffer.from(await pdfDoc.save())

  const signer = new P12Signer(await readFile("certificate.p12"), {
    passphrase: process.env.P12_PASS,
  })
  return signpdf.sign(withPlaceholder, signer)
}
Keep the render stage and the sign stage separate in your code. Rendering is a network call to PDF4.dev; signing touches your private key and should run in a controlled environment where that key never leaves. Splitting them also lets you re-render without re-signing, and re-sign without re-rendering.
If you only need to generate the document and want to try HTML to PDF first, the free Html To PdfTry it free tool renders a single document in the browser. To restrict what readers can do with an already-signed file, see Protect PdfTry it free for password and permission controls.
Which option should you choose?
Choose by what the document has to prove, not by what is easiest to ship. The recommendation below is by scenario.
| Scenario | Recommendation |
|---|---|
| Cosmetic "signed by" stamp, no legal need | Visible overlay with pdf-lib |
| Internal integrity check, testing | Self-signed PKCS#7 via @signpdf or pyHanko |
| Node.js stack, real signing | @signpdf/signpdf + @signpdf/signer-p12, CA certificate |
| Python stack, real signing | pyHanko with a CA certificate |
| EU legal recognition (eIDAS) | pyHanko, PAdES subfilter, qualified certificate, TSA timestamp |
| Generate the document itself | PDF4.dev render, then sign as a post-step |
A few honest caveats. A self-signed certificate is cryptographically valid but shows as untrusted in viewers, so it is fine for integrity but not for legal weight. Legal recognition under eIDAS or ESIGN depends on the certificate's issuer, not on your code: a qualified electronic signature needs a qualified certificate from a trusted CA. And the visible image approach, no matter how official it looks, never provides tamper evidence.
For most developers the practical path is: render the document with PDF4.dev (or any HTML to PDF engine), then sign it with @signpdf/signpdf in Node.js or pyHanko in Python using a certificate that matches your trust requirements. Start self-signed to wire the plumbing, then swap in a CA certificate when you go to production.
Related reading
- How to password protect a PDF: add encryption and an open password.
- How to prevent PDF editing: permission flags and what they actually restrict.
- How to fill a PDF form programmatically: populate AcroForm fields before signing.
Free tools mentioned:
Start generating PDFs
Build PDF templates with a visual editor. Render them via API from any language in ~300ms.